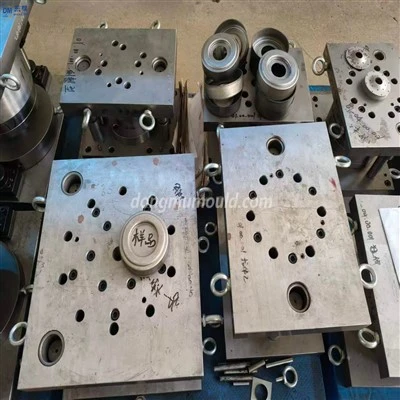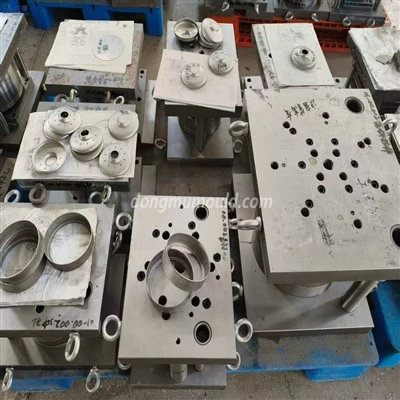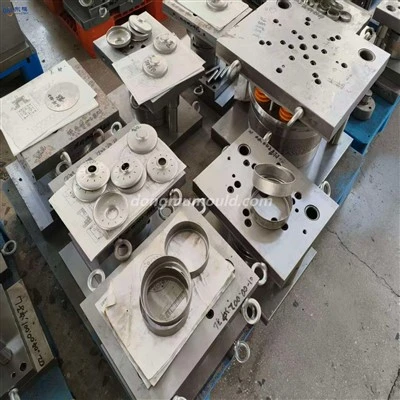

The installation of metal stamping dies is very important. No matter how good the quality of the dies, the installation of the wrong method will also cause many production problems. Facts have proved that the wrong installation of stamping dies will not only affect the quality and accuracy of stamping parts, but also reduce the service life of the dies during operation, and even serious production accidents will occur. Therefore, the installation of stamping dies is a point that stamping factories need to attach great importance to. Next, Dongfang Mould will give us an analysis on how to install the stamping die correctly.

(1) Inspection and verification of molds and stamping machine tools. Before installing the die, it is necessary to confirm that the stamping machine is designed with a specific type of standard for the stamping die, and check whether the standard and operating standard of the die are in line with the performance parameters of the specific stamping machine, and whether the condition of the stamping machine is good enough.
(2) Clean up all dirt or dirt on the bottom edge of the slider of the stamping machine, the cabinet table (or the plan view of the pad) and the plan view of the upper and upper die bases of the die during operation.
(3) Manually manufacture the water pump flywheel of the rolling stamping machine tool (or control the light-emitting button), adjust the upper slider to the top dead center, and rotate and adjust the screw of the extruder, and adjust the length of the crankshaft to a shorter (that is, a larger closing height) ).
(4) Place the closed mold on the operating table of the Juli machine or a suitable position on the cushion block. If an air cushion is used, the ejector rod should be placed first, and the mold placement position should be marked.
(5) The water pump flywheel of the manual rolling stamping machine tool (or control the light-emitting button), so that the slider on the CNC lathe slides down and stops at the bottom dead center.
(6) Rotate the adjusting screw of the extruder of the punching machine, and adjust the closing height until the bottom edge of the upper control module is in close contact with the upper plane of the lower die base. If there is a mold handle, the mold part should be adjusted appropriately during the whole process so that the mold handle enters the hole of the upper slider. Then tighten the lower die (or clamp the die handle).
(7) Control the upper slider to push the lower die to do 2-3 idle stroke operations, and end at the bottom dead center.
(8) Tighten the upper die. In the case of tightening the nut, it cannot be tightened sequentially, it must be tightened symmetrically, not all at one time, it needs to be tightened in 2 to 3 times, so that the load of each bolt connection can be evenly distributed and prevent the mold from tightening the nut. Offset occurs. Hardware drawing die
(9) Put the material into the test punch, and check whether the die is properly installed after the stamping parts produced.